
A First-Timer’s Photography Guide to New York City
Travel Photography Tips & Tricks Series
Why A First-Timer’s Photography Guide to New York City
Most photography enthusiasts travelling to New York City (NYC) would face a challenge – the challenge of plenty. It is the largest city in the US in terms of population. Spread over 784 SQ km, New York City has five boroughs – Manhattan, Staten Island, Queens, Bronx, and Brooklyn. NY.com lists 89 museums, of which 32 are in Manhattan (see the complete list HERE).
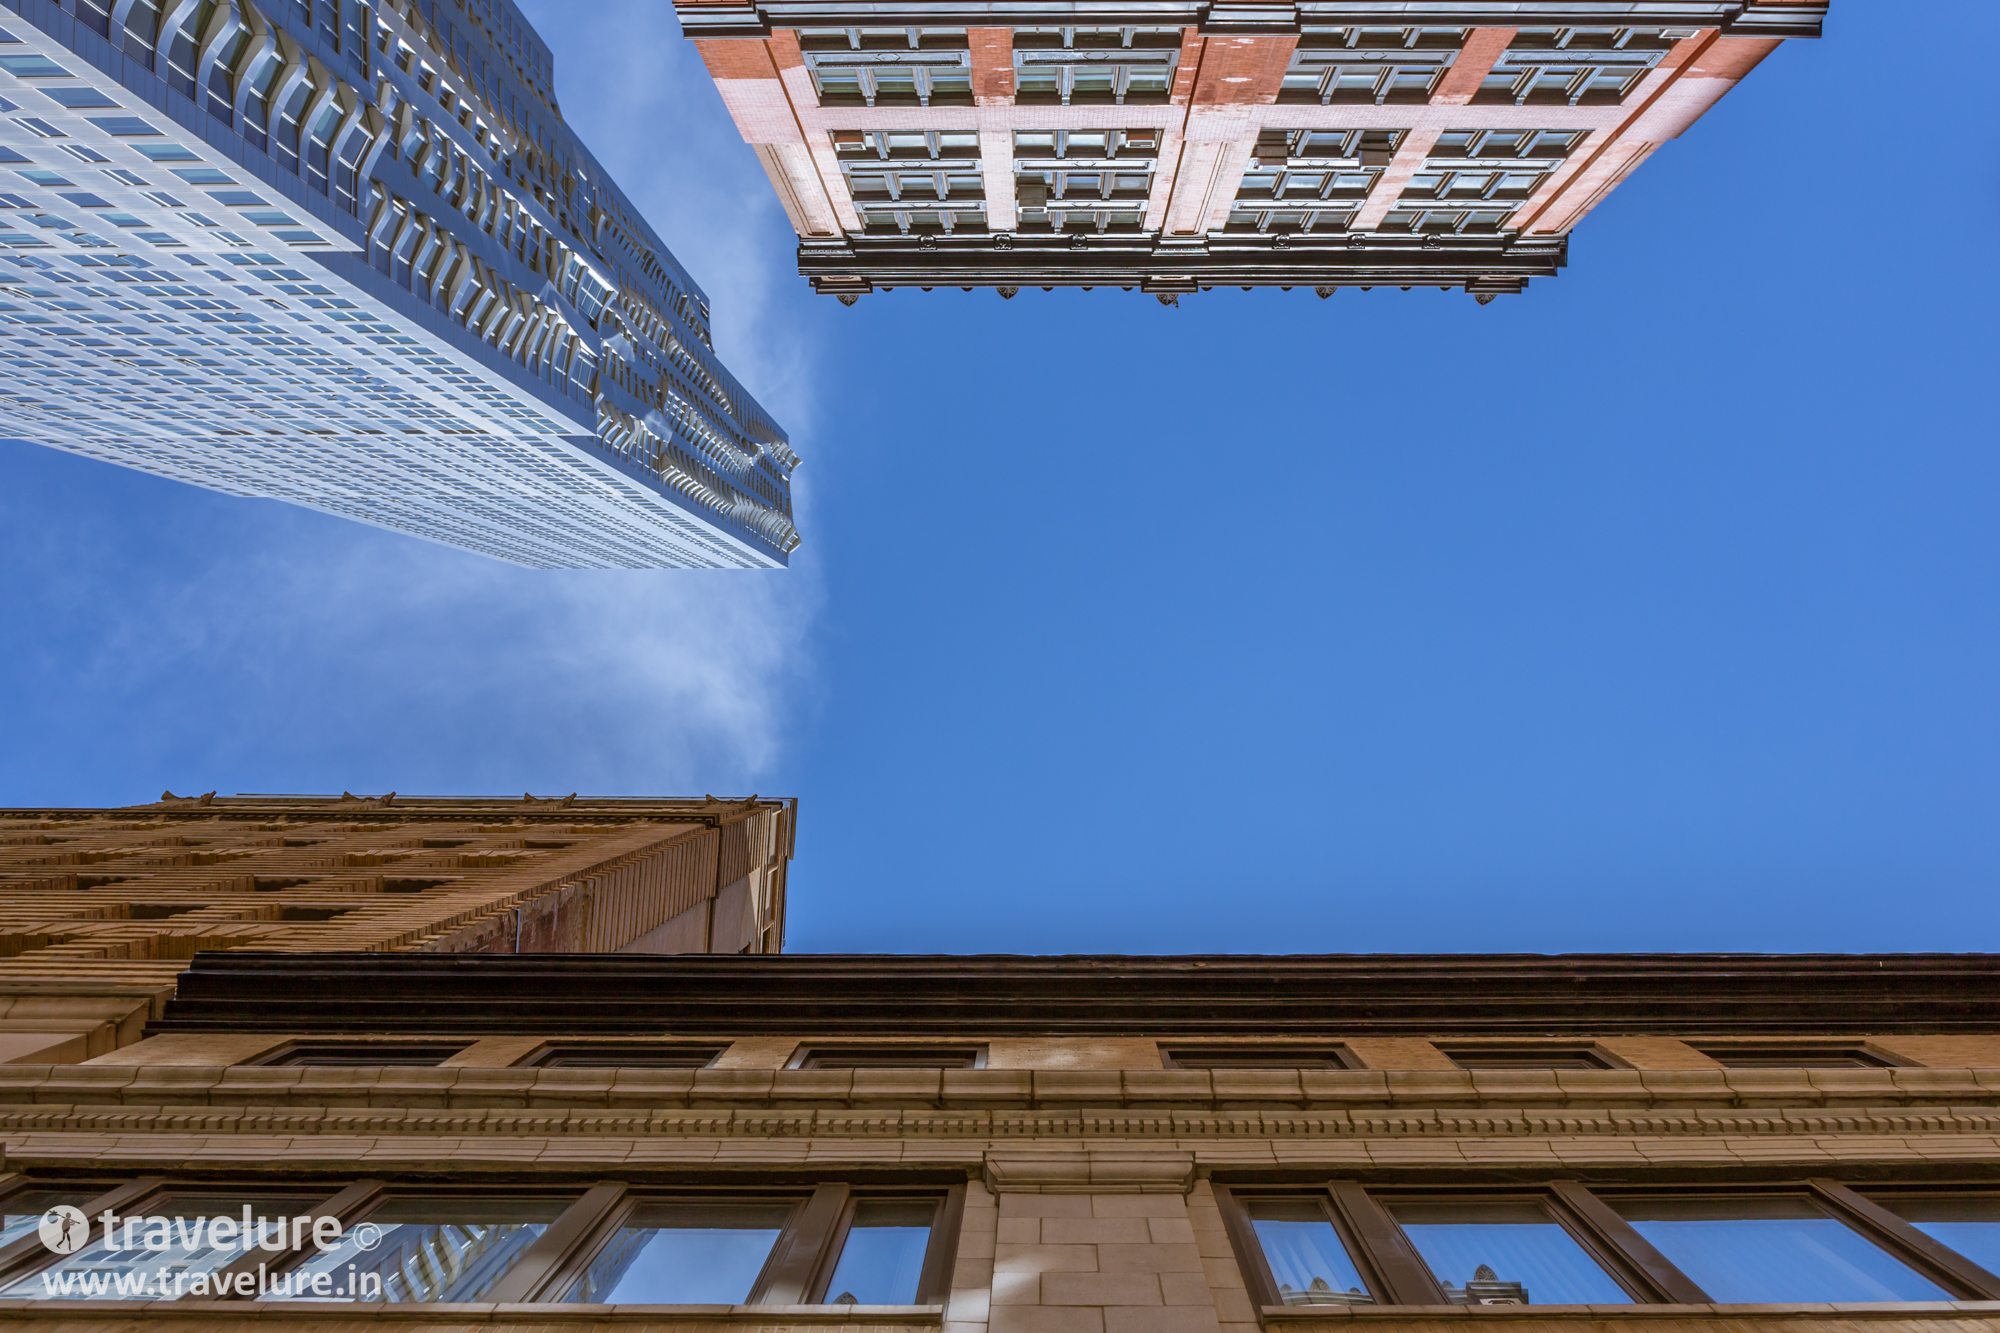
There’s Brooklyn Bridge, Central Park, the Statue of Liberty (a UNESCO site), Grand Central, Times Square, and a whole lot more! And then, there is the famed Manhattan skyline that may be viewed from a few unique vantage points, e.g. Empire State Building observation decks, Brooklyn (both, from the Bridge and from across the bridge), Top of the Rock, etc.

Whether your visit to New York is 3 days or 7, it is obvious that you cannot hope to cover it all. You would be forced to make choices of what to see and what to sacrifice.
Through this guide, I hope to help you make choices that would get you to see, and photograph cool places of NYC.

Let’s start with the basics
- New York is large. The fastest way to commute here would be public transport. Buy yourself an NY Subway MetroCard (click HERE for details).
- Many of the sought-after attractions are in and around Downtown and Midtown Manhattan. Book your stay around these areas. While Brooklyn may be less than ideal, it still would be a better choice than any of the other boroughs.
- Entry fee for most attractions is steep (e.g. Empire State Building: $49; Top of the Rock: $34). Buy yourself an appropriate ‘Attractions Pass’ (click HERE for NYCgo’s Attraction Pass options). You would not only save money but in most cases, would also beat the long queues. In an expensive city, the time saved also translates to money saved as you would need lesser time to see these attractions and would be able to pack more into your trip.
- An ideal New York trip should be at least 5 nights. That gives you a minimum of 4 clear days for capturing this iconic destination, assuming you would be organising your MetroCards and CityPasses on the day of your arrival and taking care of jetlag, induced by your trans-oceanic flight.
- While this is a Photography Guide, if you are interested in a 7-day itinerary for NYC, try my friend ELENA’S POST

Day #1: NYC Skyline
Here, you must provide for a day and a half to capture it from various gorgeous viewpoints.
Since you would be staying somewhere around Manhattan, start early and flash your Attractions Pass to get to the pass holders’ queue in the reception lobby of the Top of the Rock. Chances are you would get the slot to get to the observation deck later in the day or even for the next day. Opt for next day as early as possible.

With this attraction scheduled and out of the way, head over to Empire State Building. Here also, your CityPass will get you ahead of the second queue (because of the pass, you would not need to join the tickets queue anyway). But remember, there are 5 queues you would be facing here and you have just beaten two. The third queue is for taking the elevator to the 86th Floor.
Queues, and more queues
Now, the fourth and the fifth queues are optional depending on the available time. These queues are for taking the elevator to the 102nd Floor (there is an additional charge for that observation deck – it is not covered in your CityPass), and then for exiting from elevator lobby to the observation deck. You would end up spending about 90-120 minutes here.
Once done, take the subway train to Brooklyn and get to Brooklyn Heights Promenade. You will get stunning images of the Brooklyn Bridge in the foreground and the Manhattan skyline in the background. Remember, Manhattan is in the Northwest of Brooklyn. So, while afternoon images will be interesting, the evening images will be of a stunning silhouetted skyline. Carry your mid-range lens for best captures (24-70mm or a 24-105mm on a full-frame body).

After these stunning captures, head back to Empire State Building. As a pass holder, you have the option of returning here the same day after 8 pm. Do go back as the evening view is to kill for. After that, grab a bite somewhere, and settle down with a cocktail. Enough of running around for Day 1.
Day #2: NYC Skyline (Contd.) and some more NY
Get to the Top of the Rock Reception in time for your scheduled visit to the Observation Deck there. This observation deck accords you a gorgeous view – better than from Empire State Building – since you see Empire State also from here!

Make your way to the Circle Line Jetty and use your Attractions Pass to book yourself on a Beast Speedboat ride. Although you may opt for their usual cruise boats, Beast will save you a lot of time while you do the same cruise circuit. This speedboat streaks down the Hudson River and makes a screeching stop within 100 feet of the Statue of Liberty. Throughout this thrilling ride, you would enjoy a panoramic view of downtown and midtown Manhattan.

Now that you would have saved some time, take a 200-metre walk to the Intrepid Sea, Air and Space Museum – your Attractions Pass would secure your entry. This museum is unique as it is housed in USS Intrepid, a now decommissioned aircraft carrier. Also docked alongside is USS Growler – a cruise missile submarine – also a part of this museum.

Wonders of This Museum
The flight deck of the ship is a parking bay of numerous fighter planes and helicopters. Besides the F-16 used in Operation Desert Storm, the Lockheed A-12, a MiG-17, a MiG-21, and Beechcraft Trainer, a Concorde is also on display here. The cherry topping is a large enclosure housing the Space Shuttle Enterprise.
By the time you are done with all this, it would be close to evening. That would be the time for you to head out to Times Square. During the day, it looks like any other chaotic commercial hub. But, in the evenings, it transforms into a psychedelic fairyland. While it may be extremely busy, try and set up your tripod next to a sidewalk pole or a similar fixture. This would ensure that people do not accidentally bump into your camera set-up.
The shots you can get here should please even the most fastidious of travel photography enthusiasts.

Day #3: Museums and Central Park
As I have earlier mentioned, there are scores of museums in New York. But, from a photographer’s point of view, the ones that follow are the must-dos (and these are also included in your Attractions Pass):
- The American Museum of Natural History: Remember ‘Night At The Museum’ – a comedy trilogy about museum artifacts coming to life in the night? That was shot here! This vast museum offers you insights into the marine life, the pre-historic era, the landscape of different regions in the US, agrarian lifestyle of earlier centuries, an understanding of Indian Americans, and more. And these exhibits offer tremendous photo-ops!
- Solomon R Guggenheim Museum: While it is an art gallery, its architecture is remarkable. So much so, many movies have been shot here. This multi-level art gallery has no staircase. The ramp keeps climbing up and the walls along the ramp have terrific art displays.
- The Metropolitan Museum of Art: I did not have this guide. So, I had to go back disappointed, as this museum remains closed on Mondays. All the same, this period building’s façade also has its own charm. Besides the exhibits, even the interiors of this gigantic museum are photo-worthy. According to my New York friends, I missed out. You mustn’t. Do visit this Museum Mile gem!
A Quick Tip
Since these 3 museums are around Central Park, once you step out of the Metropolitan Museum, enter Central Park. This 3,410,000-sq mt park can be overwhelming. Do not attempt to cover it in its entirety. From your entry point, you’ll hit Central Park Reservoir’s South Gate House. This reservoir has been christened ‘Jacqueline Kennedy Onassis Reservoir’. Some informal fountains adorn this lake. Walk along its perimeter up to Guggenheim Museum and you’d be able to capture its trademark charm.
Catch a subway back to your hotel as after taking in the above, it is unlikely that you would have much time left in the day and much energy left in your body.
Day #4: Midtown and Downtown Manhattan
Start your day with a visit to the Grand Central Station. While it is just a train station, it features amongst the top 10 most visited sites in the world. Over 20 million visitors flock here annually. Its 3100-sq mt main concourse is the centrepiece of this 48-acre, 44-platform station. Click away as scenes of many Hollywood and Bollywood movies have been shot here!

This is the day you may lazily walkabout, as the only set of attractions you now need to visit is the 9/11 World Trade Center (WTC) Memorial and the World Trade Center Transportation Hub called Oculus. While the 9/11 WTC Memorial is likely to leave you sombre, the Oculus will leave you speechless with awe! This pristine white ribbed architectural marvel is symbolic of a peace dove about to take flight.
What Next?
After doing this photographic itinerary, spend the rest of the day capturing the feel of the city – its people, its hi-rise, its shopping district – as there is never a dull moment in this city.
Consequently, while you may shuffle Day #1 with Day #2 or #3, do remember that this itinerary has been drawn up keeping in mind the optimisation of routing and distances. I did not have access to any such planned itinerary that would have made my explorations of this mammoth city easier. But you do. Try and benefit from it!








Thanks for providing the information.
all the pics are surreal, very beautiful
Thank you, Mayuri! If I had this guide before my travel to NYC, I may have been able to do a wee-bit better! 🙂