The MasterClass Series #22
Let us stitch a panorama
Equipment
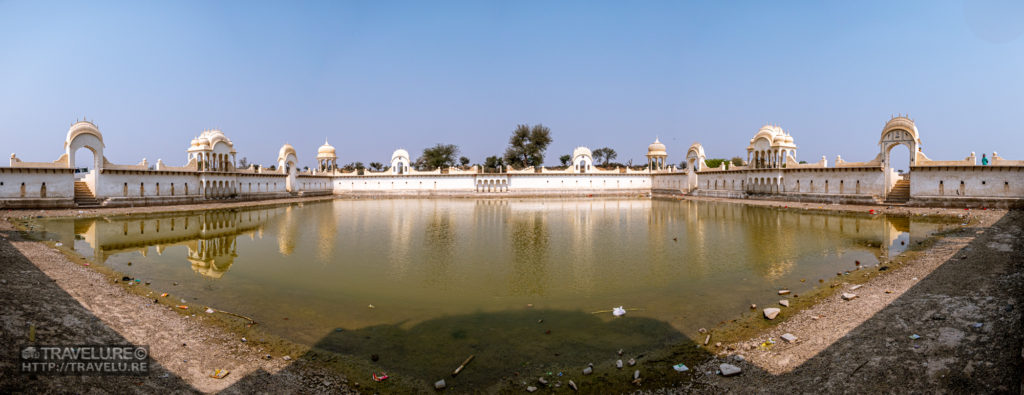
Panasonic Lumix DMC-FZ2500 (shot #1)
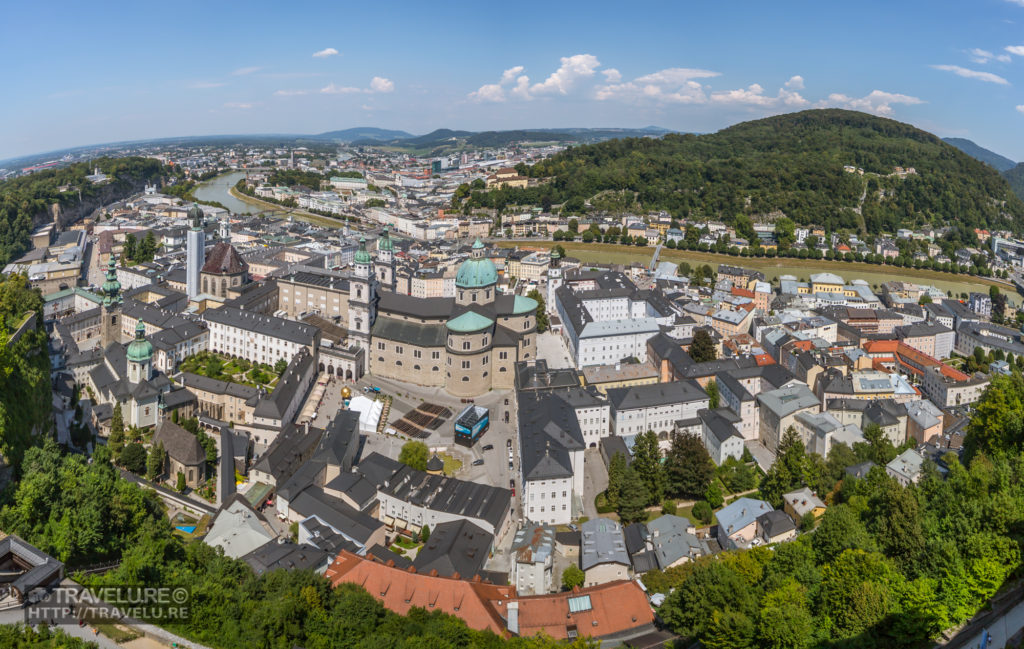
E O S 5D Mark III (shot #2)
TS-E 17mm f/4 L
EXIF #1
Sethani Ka Johara Panorama
Focal length: 28mm
Aperture: f/15
Shutter speed: 1/2000
ISO: 200
EXIF #2
Salzburg Panorama
Focal length: 17mm
Aperture: f/4
Shutter speed: 1/2000
ISO: 100
Editing
Adobe Lightroom Classic CC
We discovered how we can get rid of distortion in an architectural image last week. Let’s now see how we can stitch a panorama.
The Story
We travel and see places, some large and some small, others spread over a large area. As travel chroniclers, we want to show our readers the enormity of it, and tell its story. The beauty of these picturesque locations is best experienced with a 180-degree view. But what our eyes take in doesn’t get captured by our cameras in toto.
The Challenge of a Panorama
We discover the lenses we carry have their limitations. We see a panoramic vista that would not fit the frame, even with our widest lens. But we want to capture it all and take it back as a memory of an awesome place. What do we do?
The shots
A solution to this challenge is shooting multiple frames and stitching them together. We shoot multiple stills while panning and then create a panorama using either Lightroom or Photoshop. Our eyes do the same in such situations.

In shot #1, I shot 14 frames while panning, covering the expanse of Sethani Ka Johara, a late-nineteenth-century step-well. I started shooting from one end of the edifice and twisted my upper body and continued capturing the frames. It gave me shots that had an overlapping view of the spread-out step-well.
Pro Tip: To get more real estate on top and bottom in the final shot, shoot in portrait orientation.
Stitching a Panorama with Adobe Photoshop CC
In the Develop module of the Lightroom catalogue, I selected these fourteen shots and right clicked to reveal the ‘edit’ options. One option in ‘Edit in’ is ‘merge to panorama in Photoshop’. This process imports every frame as a layer and merges and blends it in multiple ways (it offers options like spherical, cylindrical, perspective, etc. for stitching). The process is slow, but works. The only downside is we do not see a preview before opting for an option.

Stitching a Panorama with Adobe Lightroom Classic CC.
Instead of choosing the ‘Edit in’ option after right-clicking, if we choose the ‘Photo Merge’ option, the drop-down offers ‘panorama’ as an option. That choice gives us an auto preview that we can then customise to ‘spherical’, cylindrical, or perspective. If we have too many shots and too wide a potential panorama, we should choose the ‘cylindrical’ option as it gives more height to the shot. If the number of shots is few, we should opt for the ‘cylindrical’ option. I have stitched shot #1 with the ‘cylindrical’ option. Shot #2 uses a ‘spherical’ option as the number of shots was only five.


